Sunday Sketch vol.3: Abstract Butterfly

The key to drawing swirls and swoosh and curves is to go with the flow. Let the pen guide you to the first shape that pops up in your mind, then improvise while adding different shapes. Sometimes straight lines and sharp change of angles could add an element of surprise to your sketch. 

After you have outlined your work, create variations with the thickness of the curves and continue editing until you are happy with your work.


Sunday Sketch: vol.1 // vol.2 

Christmas Wish List

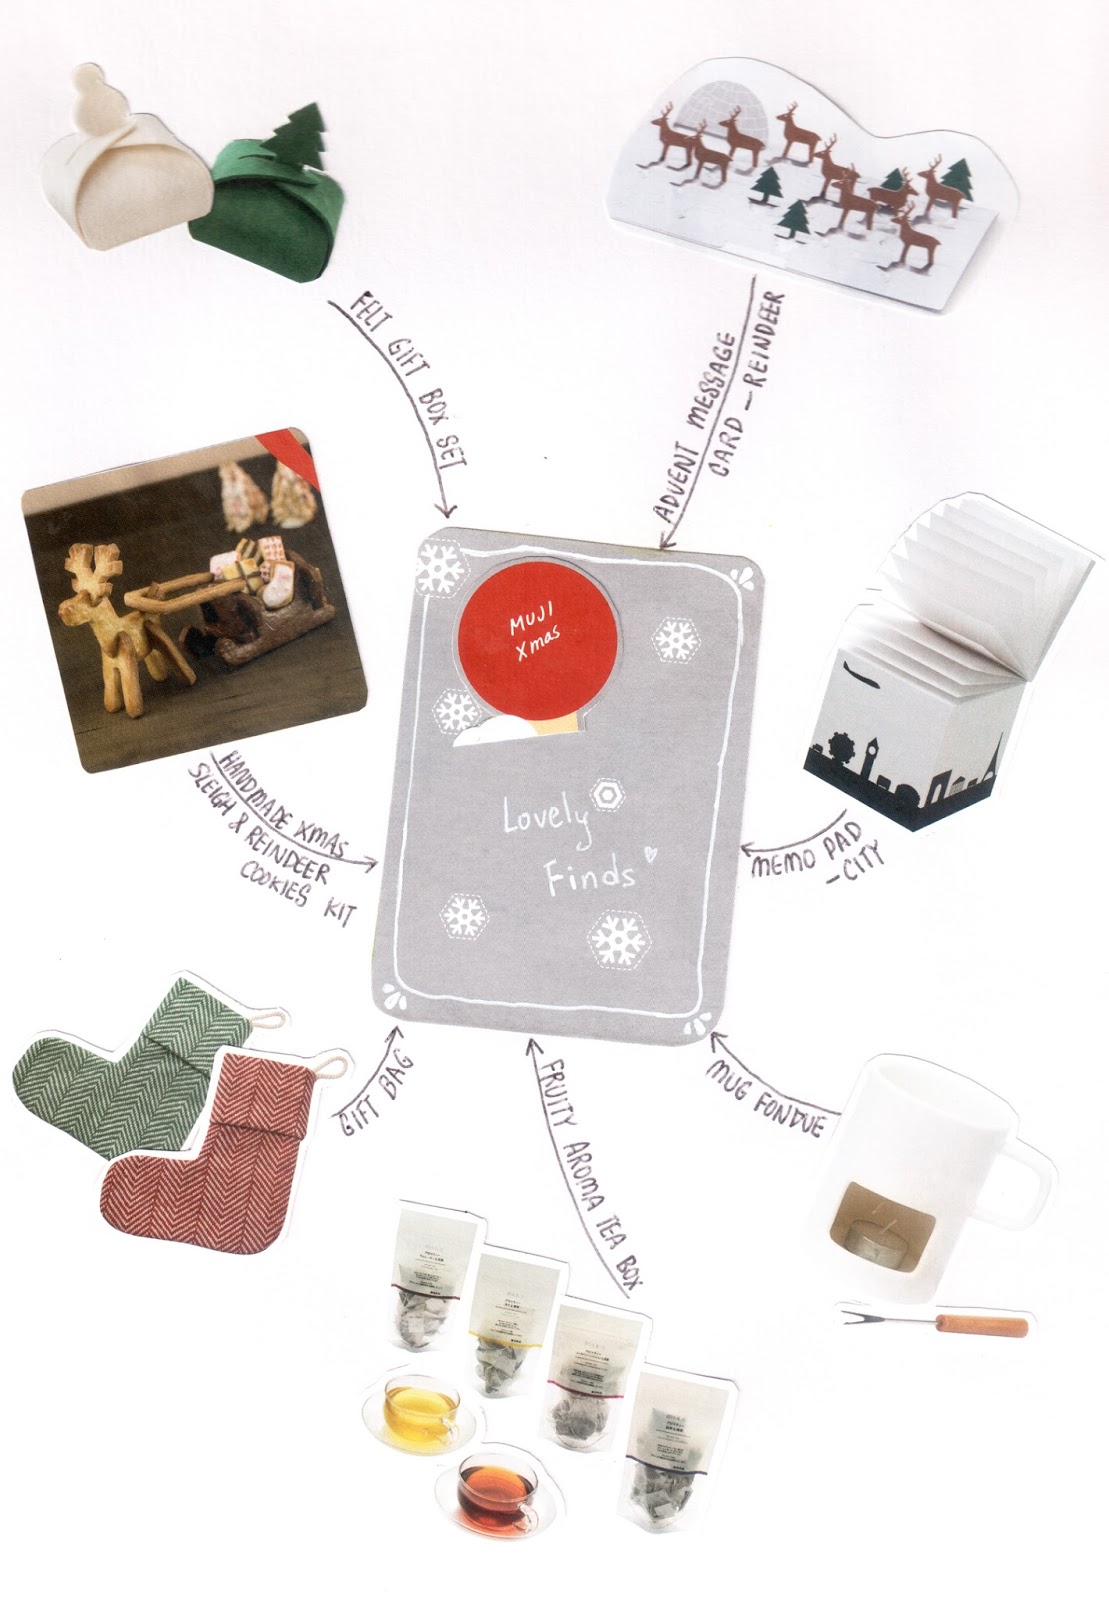
Muji christmas wish list and new finds

A collage I made out of MUJI's catalogue last year. I am still really interested in the mug fondue and fruity aroma tea bags so I might buy one of them next time when I go to the store. Meanwhile, I wish all of you a happy Chirstmas. Drink a lot of eggnog, play a great list of festive music, and spend a splendid time with your family!

Sunday Sketch vol.2: Doilies and Flowers


"For the things we have to learn before we can do them, we learn by doing them." - Aristotle

This is going to be quite a challenge for me, in the coming months, I am going to share some of my sketches, both old and recent, every Sunday onwards. I want to do this as I review my previous work and prepare myself from a drawing project I am going to work on in 2015. 

Please forgive me if some of my work look a bit childish - I am still a novice! The process of trail and error might not turn out to be the prettiest, but I believe in the value this gives to a learner. Slowly but surely, through experimental learning, lies the potential of improvement.


Sunday Sketch: vol.1

Quote: Neil Gaiman

Handdrawn with black pigment ink on watercolour paper.

"May your coming year be filled with magic & dreams and good madness. I hope you read some fine books and kiss someone who thinks you're wonderful, and don't forget to makes some art - write or draw or build or sing or live as only you can. And I hope somewhere in the next year, you surprise yourself". 
- Neil Gaiman

Craft: Beaded Hair Tie


Hair ties are always useful to be around. I always have one with me, either on my head forming a nice pony tail or on my wrist getting ready to be used. To add an aesthetic value to this practical accessory why not add some embellishments to it so it can look good both as a hair tie and as a bracelet when you are wearing it around your wrist?

For this DIY you will need:
1. Hair tie
2. Pilers
3. Jump rings 
4. Flat T pin
5. Pearlescent and glass beads


  1. Start by gathering all the materials and determining what colour of beads you would like to use. 
  2. Place bead to the T head pin. Trim head pin to length and bend the pin 90 degrees above the bead.
  3. Create head pin loops to each of the beads using the pilers.
  4. Using jump rings, link the beads together. To create levels join the jump rings for two or three times before adding the beads to the end of the chain.
  5. Link all the separate sections with one big jump pin.
  6. Secure the dangle cluster to an elastic hair tie.